What Is RedVision and Why Did We Choose It?
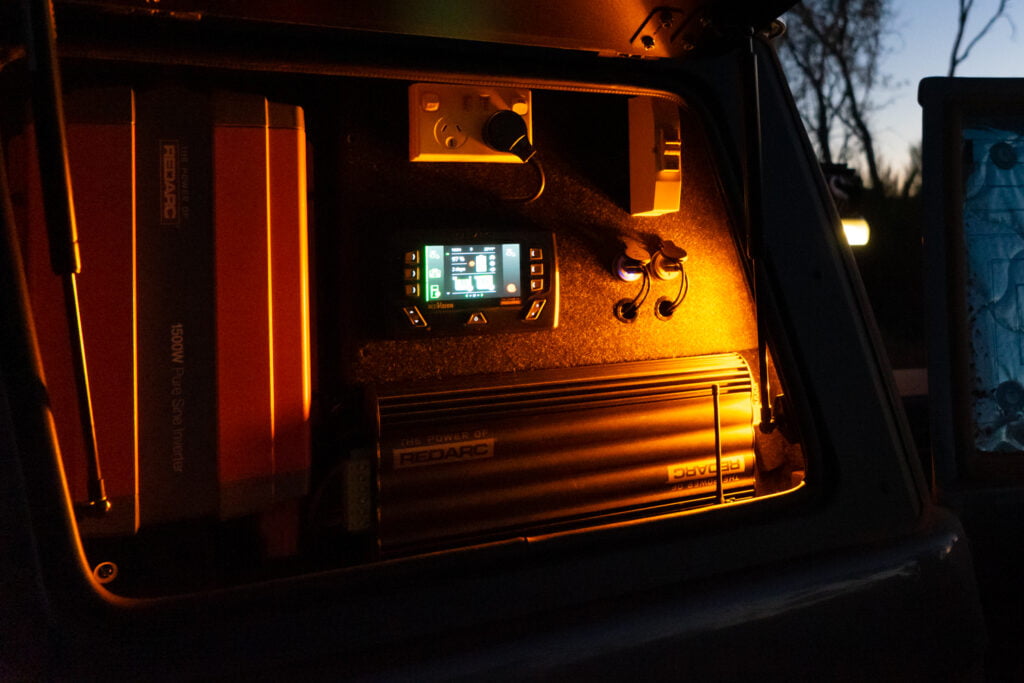
For those new to REDARC’s RedVision, it is a product known as a Total Vehicle Management System. You can read my previous article outlining how it works in full here. In short, it works together with the REDARC Manager 30 and minimises wiring, gauges and switches while adding ease of operation through the display or app.
In our LandCruiser build’s planning phase, I’d be looking for a solution to simplify the wiring. I looked at high-quality marine products that achieved some of what I was hoping to do before I stumbled across RedVision. RedVision had all the features I was looking for, plus it had several practical capabilities that weren’t even on my list.

Where Has Our RedVision Travelled?
After the install, we headed from Perth up the Great Central Road, then down the Hay River Track in the northern Simpson Desert and back across the French Line. At this point, this was brand new technology for a vehicle, and it was freshly installed.


The Cruiser, and RedVision, have since travelled to the High Country, Flinders Ranges, Kakadu and Arnhem Land, twice to the Great Australian Bight, Warra Station, Cape Range National Park and more. Through that time the RedVision system has performed faultlessly!

How Has Our RedVision Evolved?
The tech team at REDARC HQ configured our RedVision system. Together we listed out all of the buttons, what accessories they would operate and chose the best icons. REDARC then set up the unit and sent it over ready to go.
One of the first things that we changed with our system was using the RedVision app and made changes. Our version of RedVision pre-dates the inclusion of the Bluetooth connectivity as a feature. We disconnected our RedVision Distribution Box and sent it back to REDARC to have the Bluetooth hardware added. It’s testament to the build quality that upgrades like this can be made to electronics. It’s always satisfying not to waste resources or contribute to landfill when making these types of upgrades.
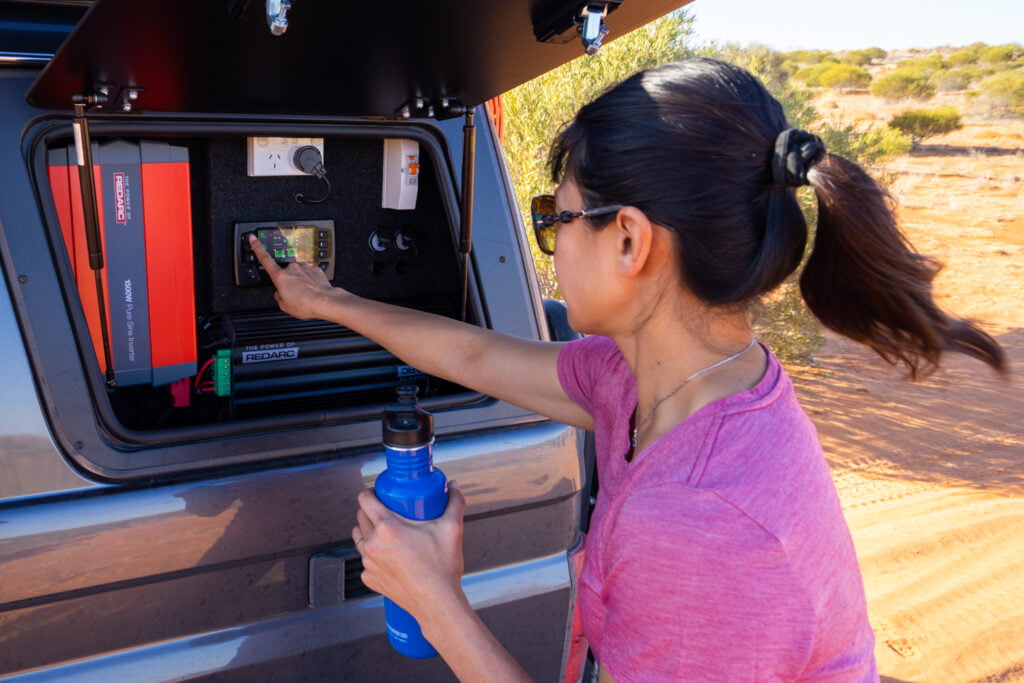
The Bluetooth module meant we could switch our accessories and see information like our battery level on the app and the main display. With our main display mounted in the rear gull window, it was a convenient upgrade and meant we could check the battery was charging correctly and switch on accessories like our inverter or Cel-Fi on or off from the cab.

The Bluetooth connectivity also allowed the option to make changes more quickly. At first, the software was only available to installers, but now REDARC has a RedVision Configurator App that enables the end-user to make changes.
Using the RedVision Configurator App
The RedVision Configurator App allows you to tweak the layout of your RedVision setup or program the app and display buttons and icons for your newly added accessories.
For a programming app, it’s straightforward to use. It’s a little difficult to describe how it works, so take a look at this video where I run through the process.
What Changes Have We Made?
Since our original setup of RedVision, we’ve made a few changes to our electrical system. We changed our interior cabin lights out for LEDs. We rewired these, along with our car stereo, to be powered from the secondary lithium battery, rather than cranking battery, to minimise the chance of not being able to start the car. We added both of these to our 12V Switch alongside the USB points and iPhone charger.
We also added Airbag Man Switches and Digital Gauge for our rear airbag suspension. These switches require the compressor to inflate the airbags, so we added them to the same button as the Compressor.

The rest of the changes we’ve made were simply to make the layout more intuitive. Both the RedVision display and app can display six buttons on the first screen. I moved the switches for the most frequently used items to the first screen; our Gull Lockers lights, Back light, Inverter, High water tap pump, Low water tank pump andCompressor. Our Fridge, 12V & Stereo and UHF & Cel-Fi are all switched less frequently on trips, so they are on the second screen.

I’ve also positioned our High water tank switch above the Low one. On the RedVision display, these icons have no labels, so it makes it obvious which button is which.

Would We Do Anything Differently?
With our Cruiser there’s very little we’d change if we were to start over. I tried to do as much of the wiring upfront, but we’ve inevitably made a few small changes. The fact that I can easily tinker with the RedVision layout myself makes me like the system even more. I’m also pleased that I’ve managed to cleanly add electrical accessories to the system without creating the dreaded spaghetti of wires or an endless line up of gauges and switches.

It’s hard for overland/touring 4x4s and campers to beat this system from a useability point of view. With nearly three years of remote travel under our RedVision’s belt, I feel confident to say that REDARC’s renowned reliability stands true for this more complex system.

I’m picking up our new camper trailer project from the WA/SA border on Monday. We’ve enjoyed our LandCruiser’s electrical system so much that we will be installing an almost identical setup in the camper back here in Perth in early January. We’ll run through that full electrical setup when it’s finished.
To learn more visit REDARC.


