Long days walking through the wilderness are best when our pack is comfortable. But what steps can we take to make sure this is the case? In this article, we’ll discuss how to pack a hiking pack and best distribute gear to make carrying one a breeze!

Pack Forces
To start with, let’s think about what happens to our body when we put a pack on. There are many forces at play here, but the main one that needs consideration is shoulder pull force; that is, the backwards pull on our shoulders by the shoulder harness of our backpack.

Why is this the most important force to consider when looking at how to pack a hiking pack? Because if our pack is going to be a certain weight (defined by what we need to carry), we can change how much affect the load has on our shoulders by optimising the way we distribute our gear.
If we have the backpack packed in such a way that backwards pull on our shoulders is kept to a minimum, then we won’t need to engage our core muscles to pull the pack forwards. It means that we will finish our day having used less energy, feeling more comfortable, and altogether happier.
The Golden Principles of Loading a Pack
Loading a pack is something of an art form, and we get better at it with experience. When learning how to pack a hiking pack the best place to start is by following these golden principles.

Heavy Gear Close
Dense items, like water, fuel and many food packages, should be placed against the inside of the pack harness panel, close to our back. If we are walking, we put them just below shoulder level where they will least force us to lean forward. If we are skiing or climbing, we move them down some way, lowering the pack’s centre-of-gravity and improving dynamic balance.
Pockets
We use external pockets and the upper part of the pack bag for things we will or could need access to on the move. Thinking ahead: what group gear and food do we need at the lunch stop? Will we need access to a raincoat, or a warm layer, in a hurry?

Weather
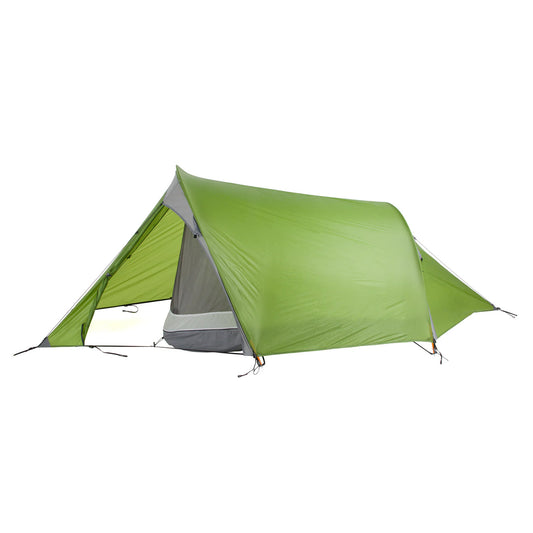
In wet weather, it’s best to pack our tent at mid-level where we can reach it without having to empty the pack.
What needs to stay dry and put it inside our pack liner bag? Our sleeping bag, sleeping mat and all spare clothing can safely go in the bottom of the liner bag and the pack, as we won’t need to get to these until the end of the day.

How to Pack a Hiking Pack for a Multi-Day Trip
Night Gear
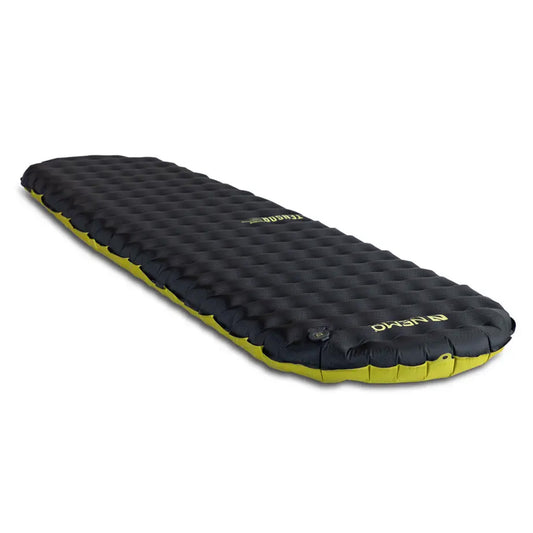
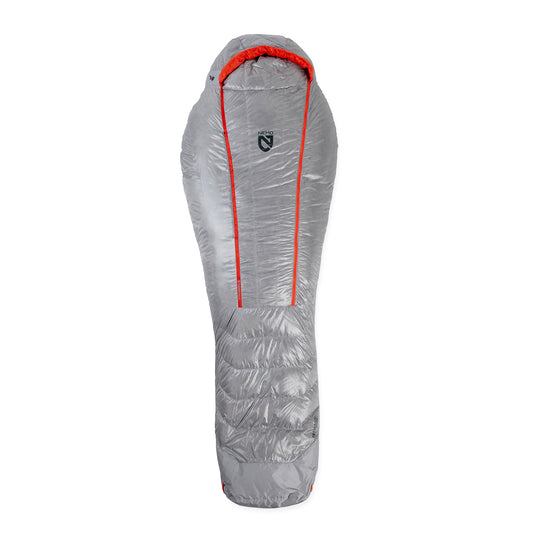
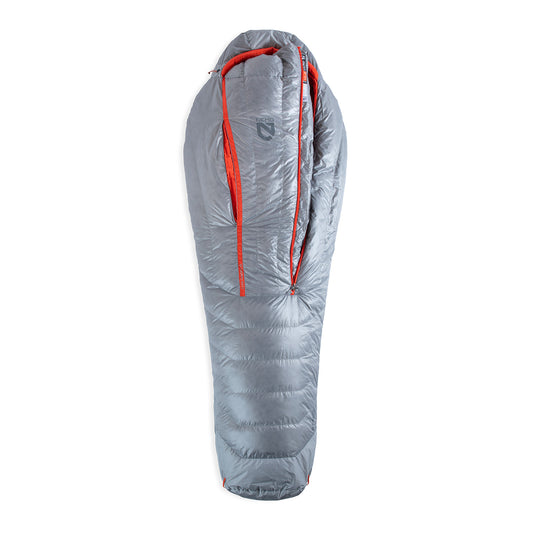
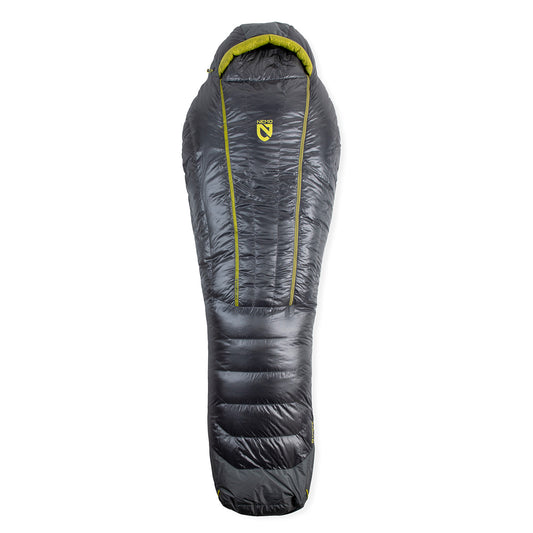
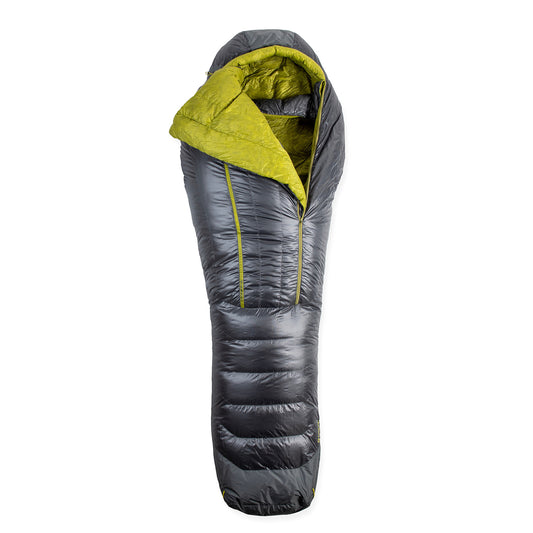
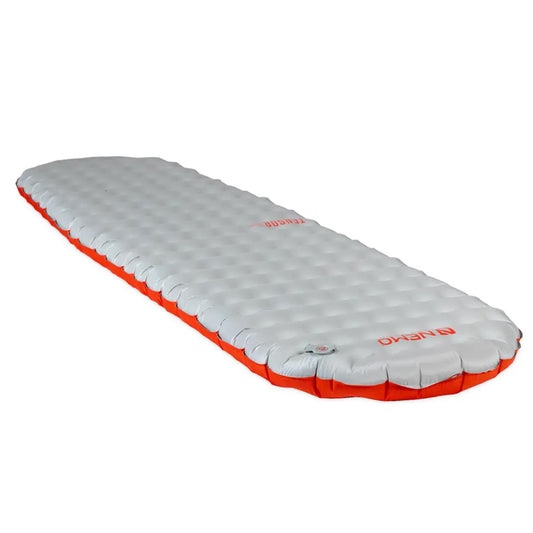
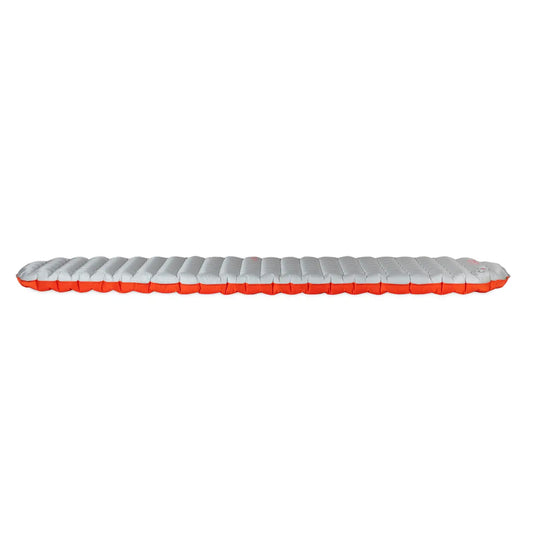
To start with, we put our sleeping bag, sleeping mat, and spare clothing (inside a dry bag) into the bottom of the pack, inside the waterproof liner. We won’t need these items until the end of the day, so it’s okay for everything else to sit on top of them.

From a load-carrying point of view, they are relatively bulky and not heavy or dense, so putting them in the bottom of the pack, at hip level, is perfect.


Stored Food
On top of this, still within the waterproof liner, goes any stored food not needed during the day. Given the weight and density of hiking foods, we pack these as close to our back as possible, to help reduce backwards pull.

Light Gear
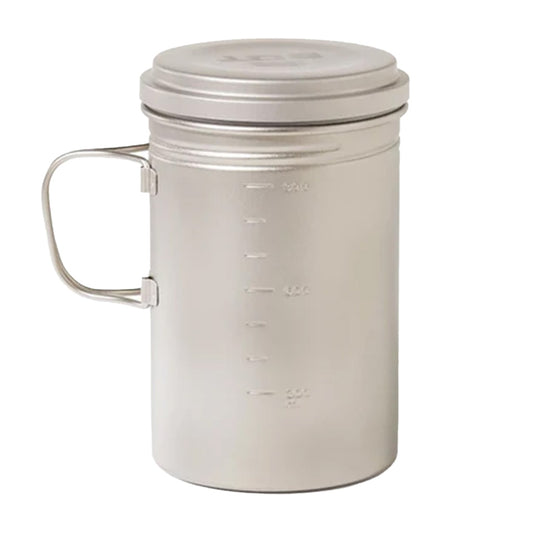
At the same level as the food, we pack lighter, less dense items (such as cooking pots), away from our back.

Heavy Gear
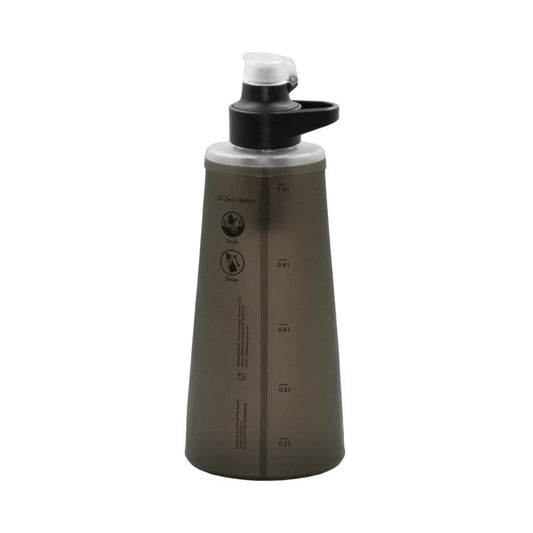
We are now up to roughly the same level inside our packs as the bottom of our shoulder blades. This height is perfect for placing heavy, dense items, like our water bottles and liquid fuel bottle. These must go on the outside of the waterproof liner bag, as even though we use bottles which can be trusted, a leak inside the liner bag could mean a wet sleeping bag, which we want to avoid at all costs!

Tent
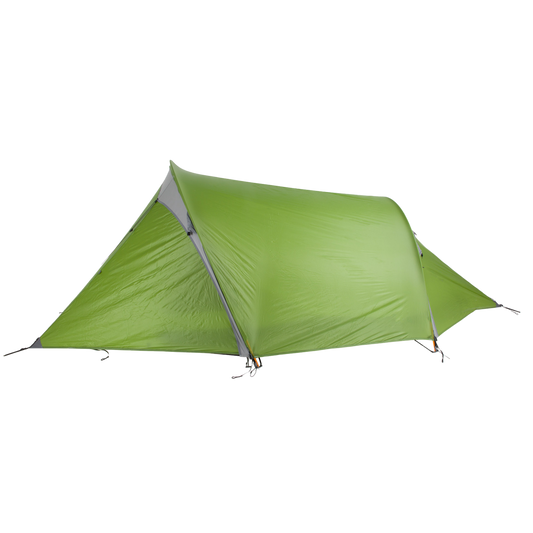
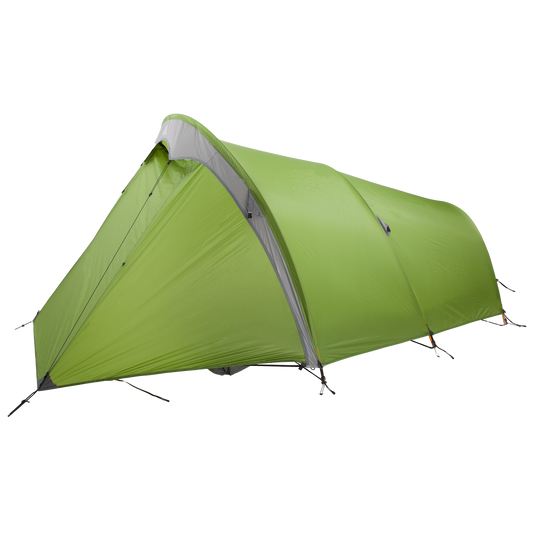
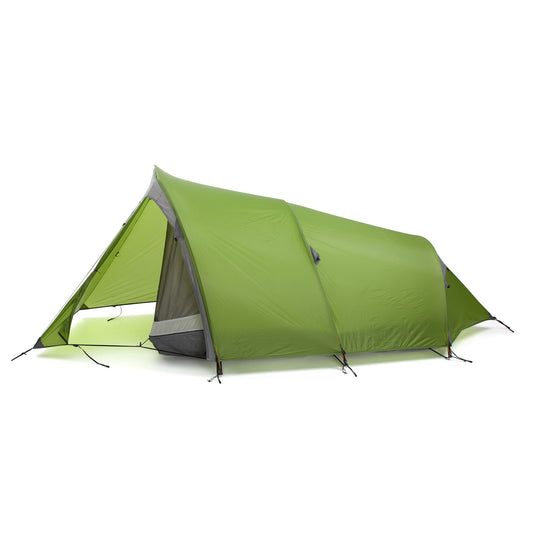
Next comes our tent, this can go at the same level as our fuel and water, centred in the pack. It is dense, but not as heavy as the liquids, so we keep it as close to the back as possible, directly outside the bottles.

Warm Gear
On the furthest edge away from our backs, we put a warm layer (fleece or down), and then on top, we put our first aid kit and raincoat for rapid access.
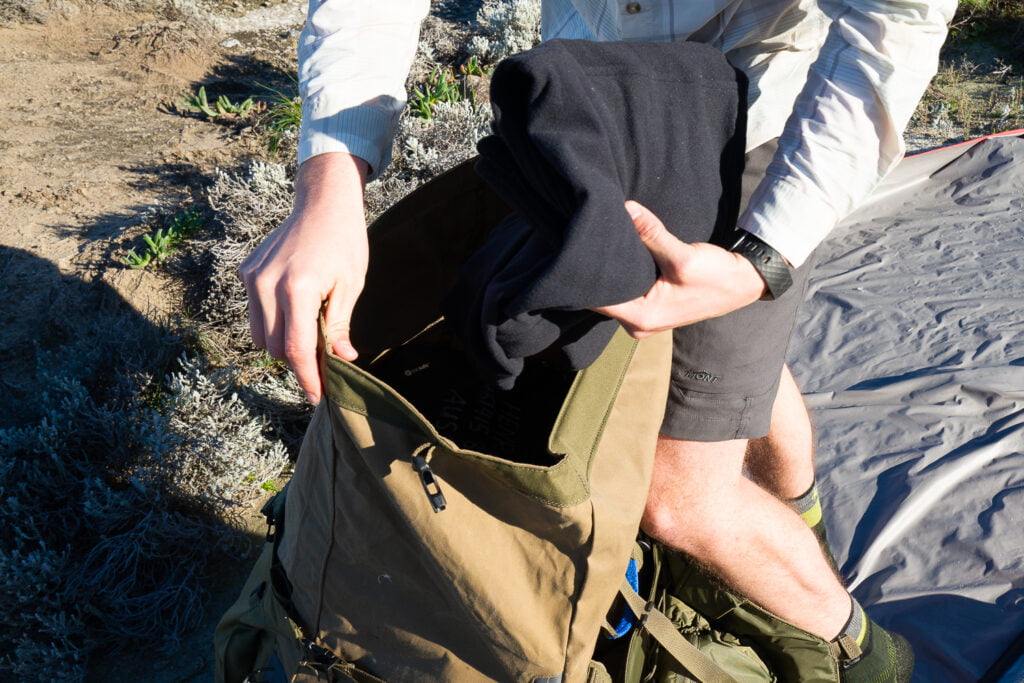

Other Gear
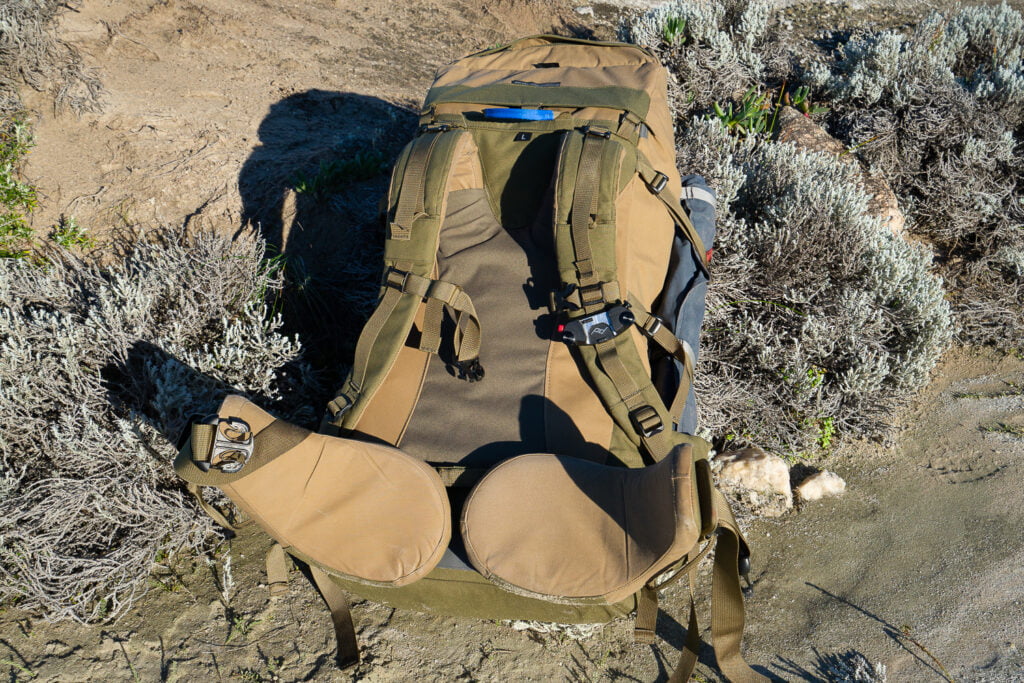
On the outside of the pack goes another water bottle, for regular hydration, and into the pocket on the lid goes gear like snacks, phone, keys, map, compass, sunglasses, sunscreen and a pocketknife.
Fly Rods & Tripods
If we have a fly-fishing rod in a tube or a tripod, we secure them to the side of the pack. They can be heavy, so the side is better than the front as it keeps the load as close to our back as possible.

Ground Sheet
The outside sleeve is a great spot to tuck anything light like groundsheets, raincoats and warm layers.

By learning how to pack a hiking pack properly, we can ensure the backwards pull on our shoulders is reduced. It’s one of the easiest ways to guarantee the most comfortable, enjoyable hiking trips possible!


